Because this post is HIGHLY requested from my Instagram followers…

I can’t even tell you how many DMs I got over on IG asking about at-home pedicures! I totally get it…and believe me when I tell you that you really DON’T need to go to a nail salon to get a good pedi (ugh, as I cringe thinking about the people who have been caught driving from California to Arizona to get beauty treatments done this week). Don’t be that asshole. Home pedicures can be just as effective, as long as you have the right tools 🙂
How To Do A Perfect Pedicure At Home
Step 1: Remove any existing nail polish.
I highly recommend my favorite all-natural nail polish remover that I’ve blogged about many times. On that note, I also recently tested these reusable nail polish remover pads from The Sign Tribe and they’re fab – they’re launching this summer but, in the mean time, I love these biodegradable cotton rounds for nail polish removal.
Step 2: File or clip your toe nails and buff your heels.
Definitely do this step with clean, dry feet. Nail clippers and nail files are all pretty standard but if you need supplies I love this pedicure kit from Target.
Step 3: Soak your feet and scrub away callouses.
You can soak your feet in your bath tub or shower but, if you’re really fancy, you can grab one of these Foot Spas. I haven’t tried it personally but it’s pretty damn luxe and includes a pumice stone attachment, cleansing brush attachment, massage roller attachment, and even has a heat boost with shower massage jets! Ugh, now I really want one!
I also highly recommend dropping in some bath salt or a bath bomb to up the spa ante, you know? I love OUAI Chill Pills bath bombs and J.R. Watkins Detox Bath Elixir.
Lastly, when it comes to buffing away dead skin on your feet, a pumice stone works but I like to use Barefoot Scientist The Gratest – it looks scary, but when you use it gently slough away the dead skin on your toes and the bottom of your feet it you will be impressed. Oh, and you can use it wet or dry so feel free to also use this for step 2 (buffing your heels).
Step 4: Apply foot cream to your feet.
You can use your favorite foot cream or body lotion for this step OR, if you don’t have any lotion on hand, you can also use avocado oil! I like Primal Kitchen’s avocado oil, personally.
After you lotion up, make sure to rub more nail polish remover on your toe nails to remove any lotion from the nail itself (otherwise it could mess up the polish).
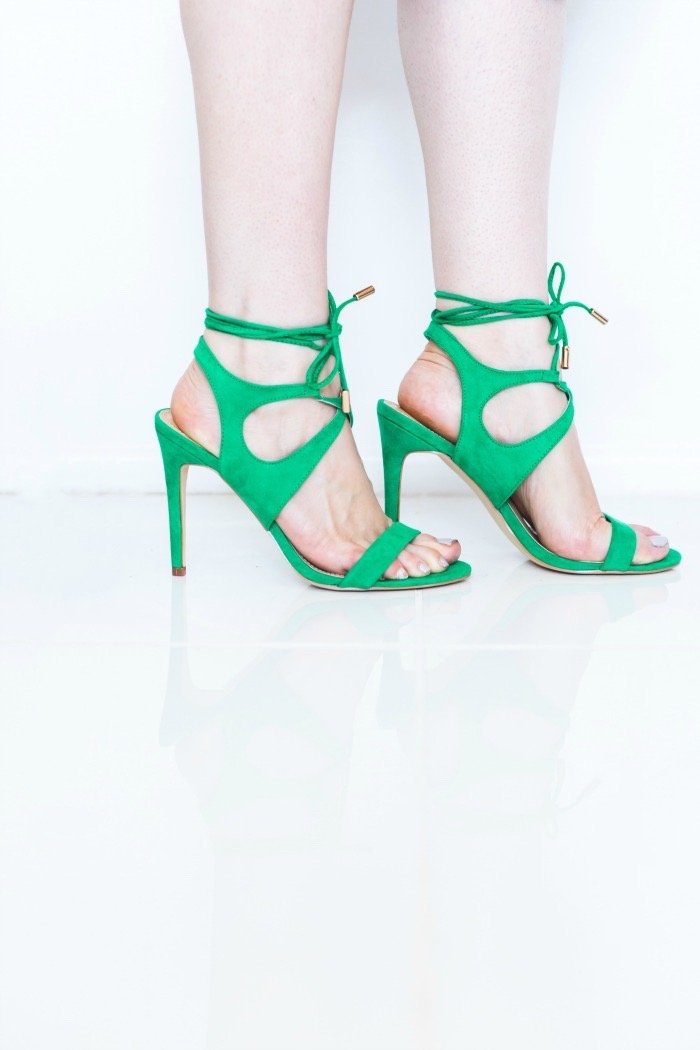
Step 5: Paint your toe nails.
First, put some toe separators on your feet; it’ll keep your toes smudge-free plus it feels kinda nice 🙂
Apply your base coat, polish and then finish with a top coat. This version from OPI is a base coat, top coat and strengthener in one!
If you don’t have the steadiest hand, I really recommend trying The Poppy from Olive & June. It basically steadies your hand for you and makes applying polish a breeze.
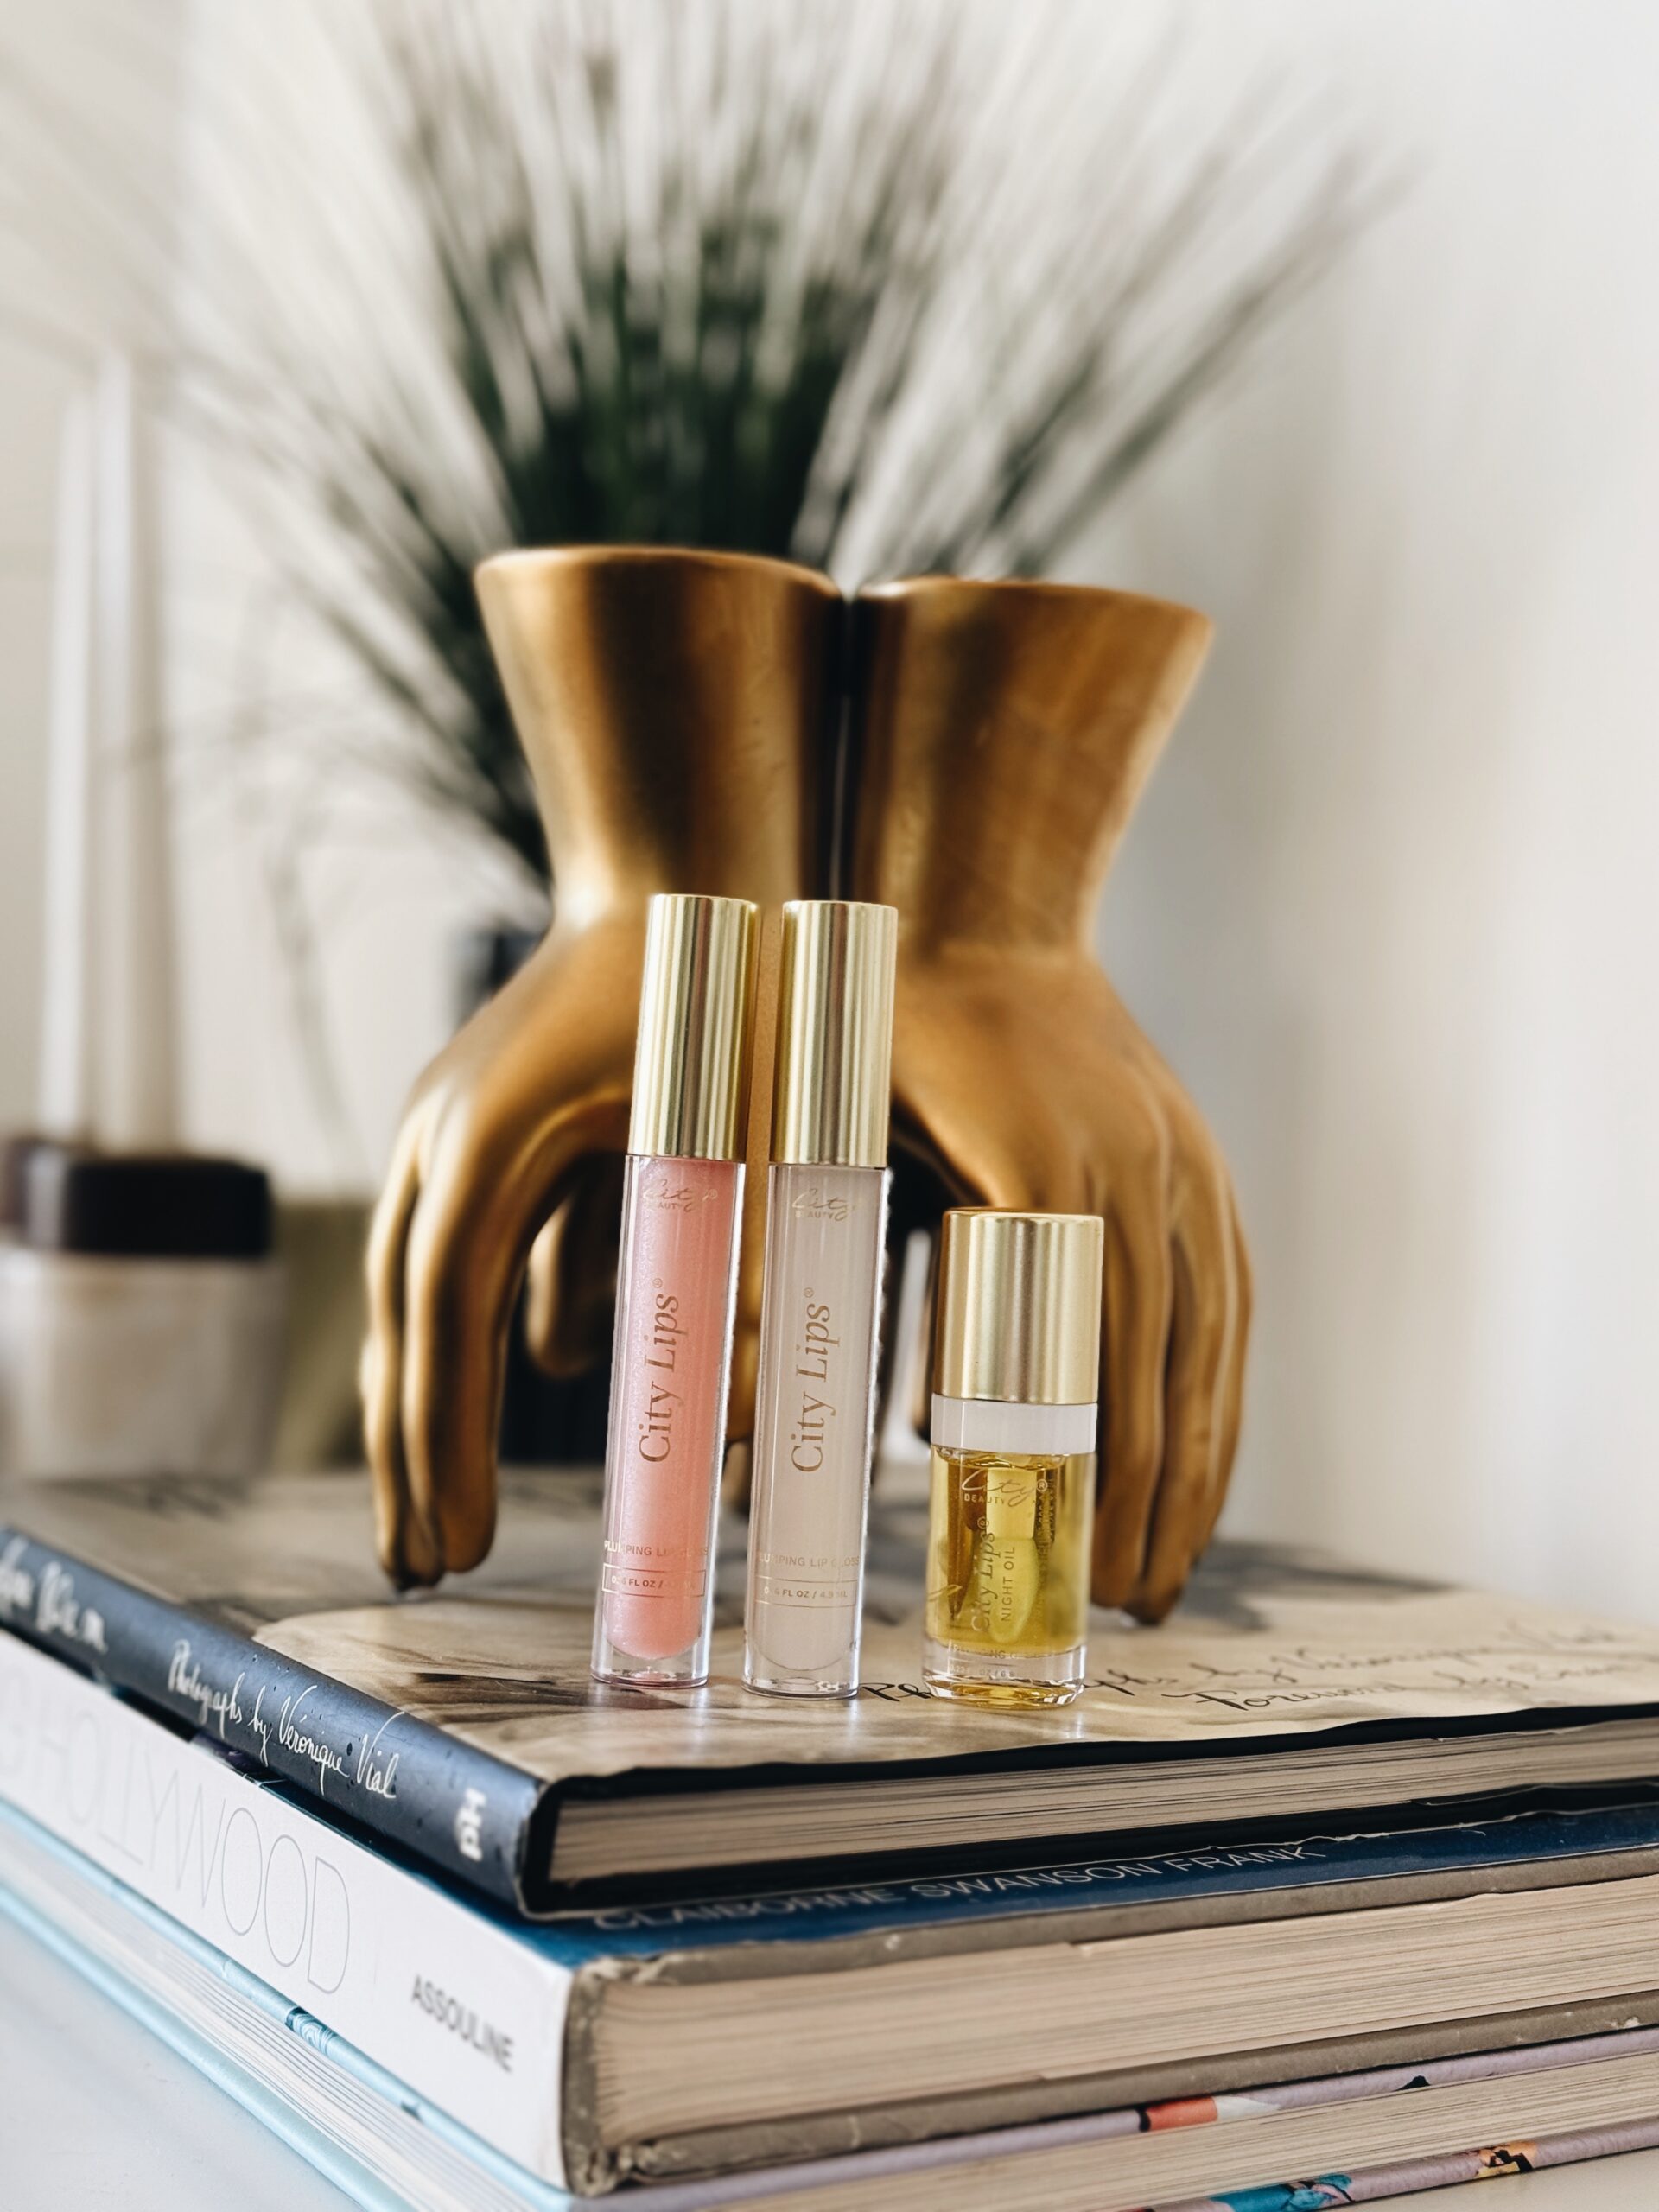
Step 6: Add cuticle oil.
Lastly for that professional pedi touch, I like to apply a drop of cuticle oil to my toesies once the polish is completely dry. My favorite: Barefoot Scientist Inner Strength Nail & Cuticle Renewal Drops – it’s formulated with a proprietary celery seed extract that’s clinically proven to promote nail strength, hydration and smoothness by supporting the keratin cells your nails depend on for growth. It also actually works to reverse daily damage so if your toes are already suffering, this oil is for you.
Essential Pedicure Tools
Photo by Azusa Takano


