How to Give Yourself a Spa-Level Facial at Home
Because this at-home facial blog post was HIGHLY requested, and for good reason…
Anyone who follows me over on IG knows that I have some BIG NEWS…I got my first COVID vaccine dose!
First off, I sadly have to write a quick PSA: If you’re an anti-vaxxer, spare all of use your comments and unsolicited and uneducated opinions. You will never change my mind on the importance of vaccines and, quite honestly, I literally couldn’t care less about what you think about vaccines OR my own health. THANKS. (Can you tell anyone with a following on social has been getting tons of troll comments? LOL)
Secondly, (and the reason why I mentioned my first vaccine) – I know we’re all seeing the light at the end COVID tunnel but, let’s be real, we are not in the clear just yet. I don’t know about you but I’m still not comfortable with any kind of indoor activity, let alone taking my mask off for an hour in a tiny room with a stranger who sees other mask-less strangers all day. How ’bout you?
That’s why I decided to still do this highly requested blog post. I did a bunch of other COVID beauty-related posts last year but this one is actually great because you can DIY your own at-home facial long after you’re vaccinated, you know? Here’s how to do it…
NOTE: I tried to make my product favorites for this as general as possible (I.e. for all skin types) but, obviously, feel free to use whatever products you love and work for you!
How to Give Yourself a Spa-Level Facial at Home
Step 1: Double cleanse your skin
I like to start with an oil-based cleanser, which helps really melt away all that makeup. After that, apply your favorite cream-based cleanser for squeaky clean skin.
My favorite cleansers:
Step 2: Exfoliate your skin
Next up, do a GENTLE (I repeat, gentle) exfoliation of your face. Personally, I prefer/always recommend chemical exfoliators vs. physical since some physical scrubs can ruin your skin.
My favorite exfoliators:
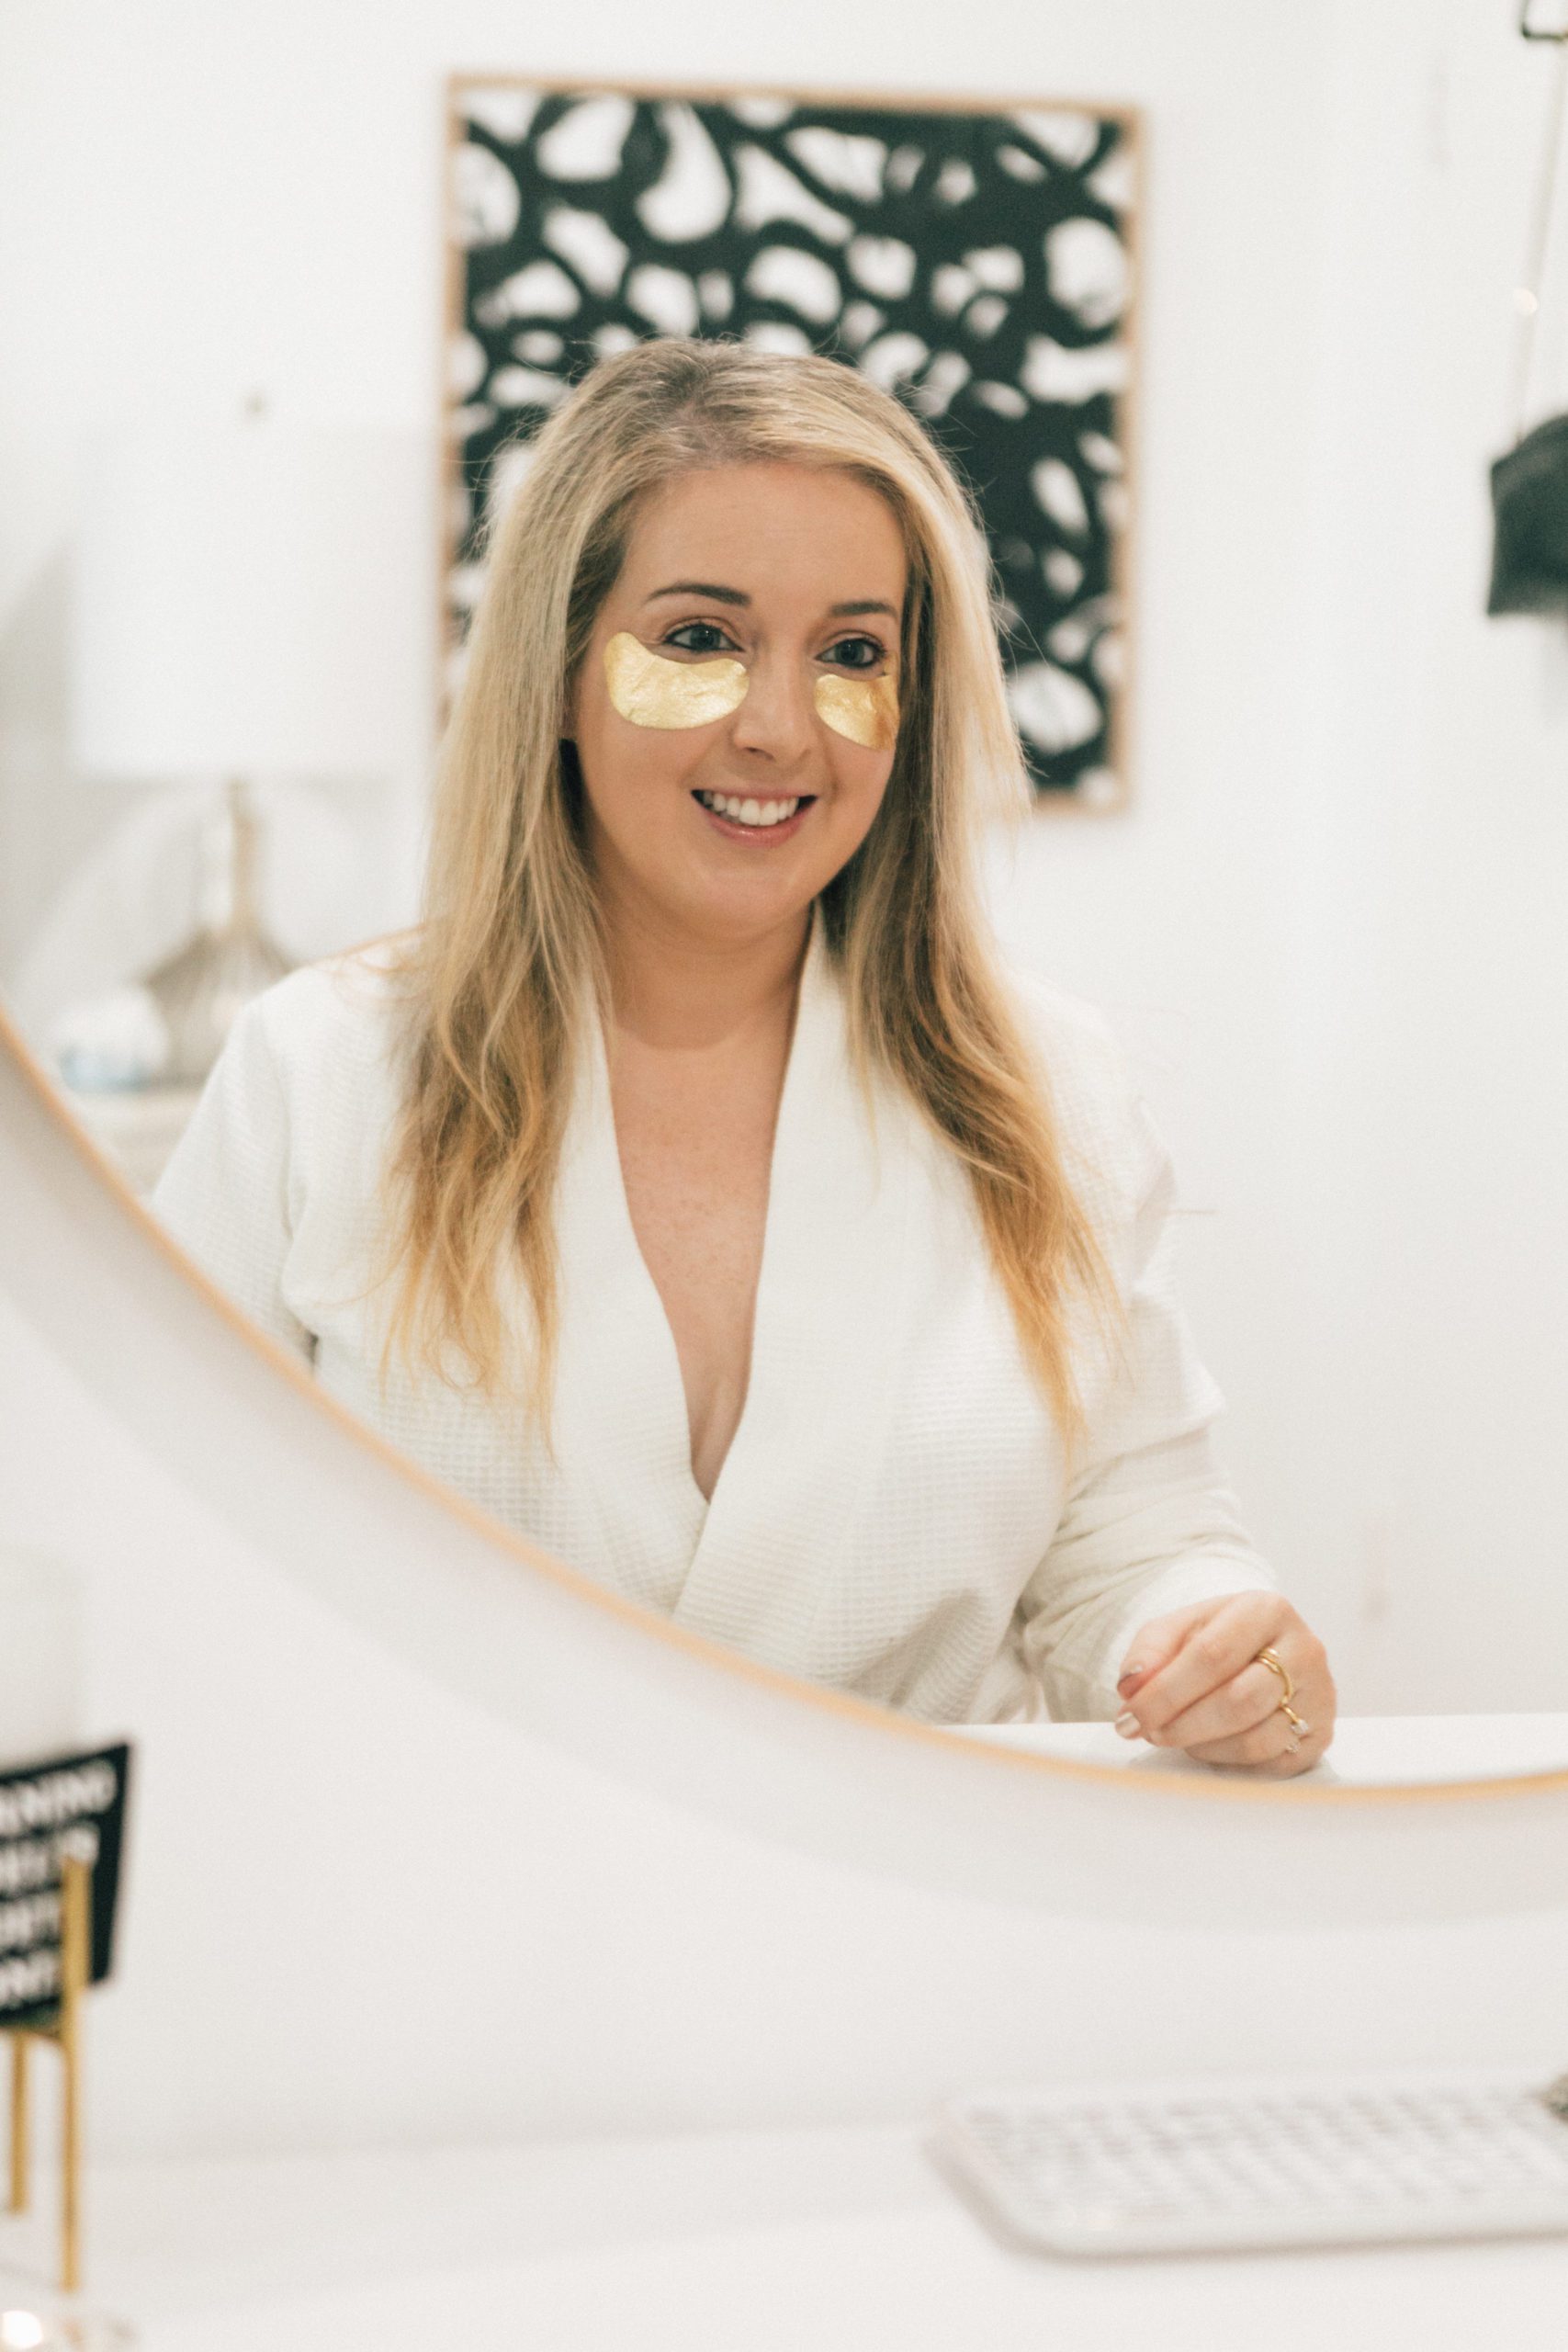
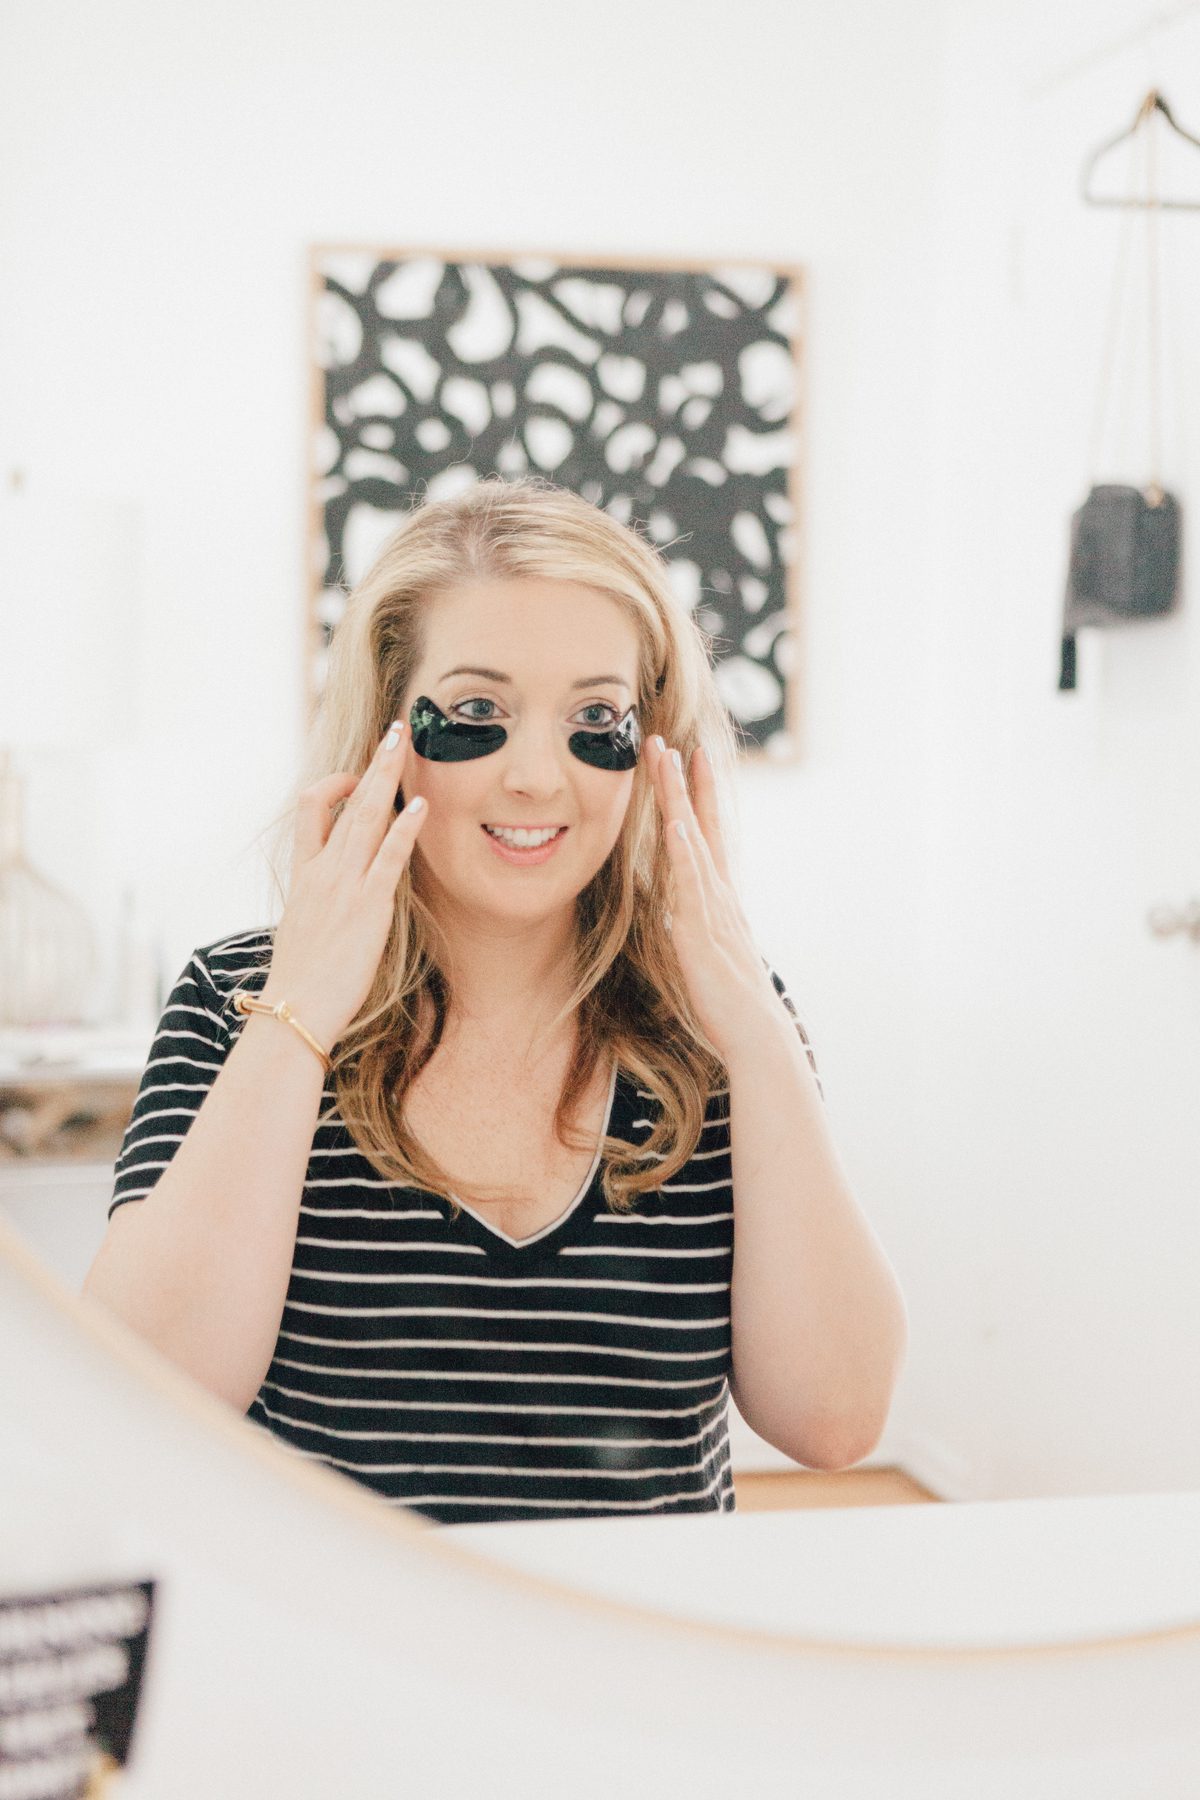
Step 3: Apply a face mask
Now it’s time to relax. Apply your favorite face mask and leave it on per the product directions.
My favorite face masks:
Step 4: Apply a serum
Next up, apply your favorite serum with a jade roller or gua sha tool (here’s a set with both tools for $19!). Take your time here and really massage it into your skin.
My favorite serums:
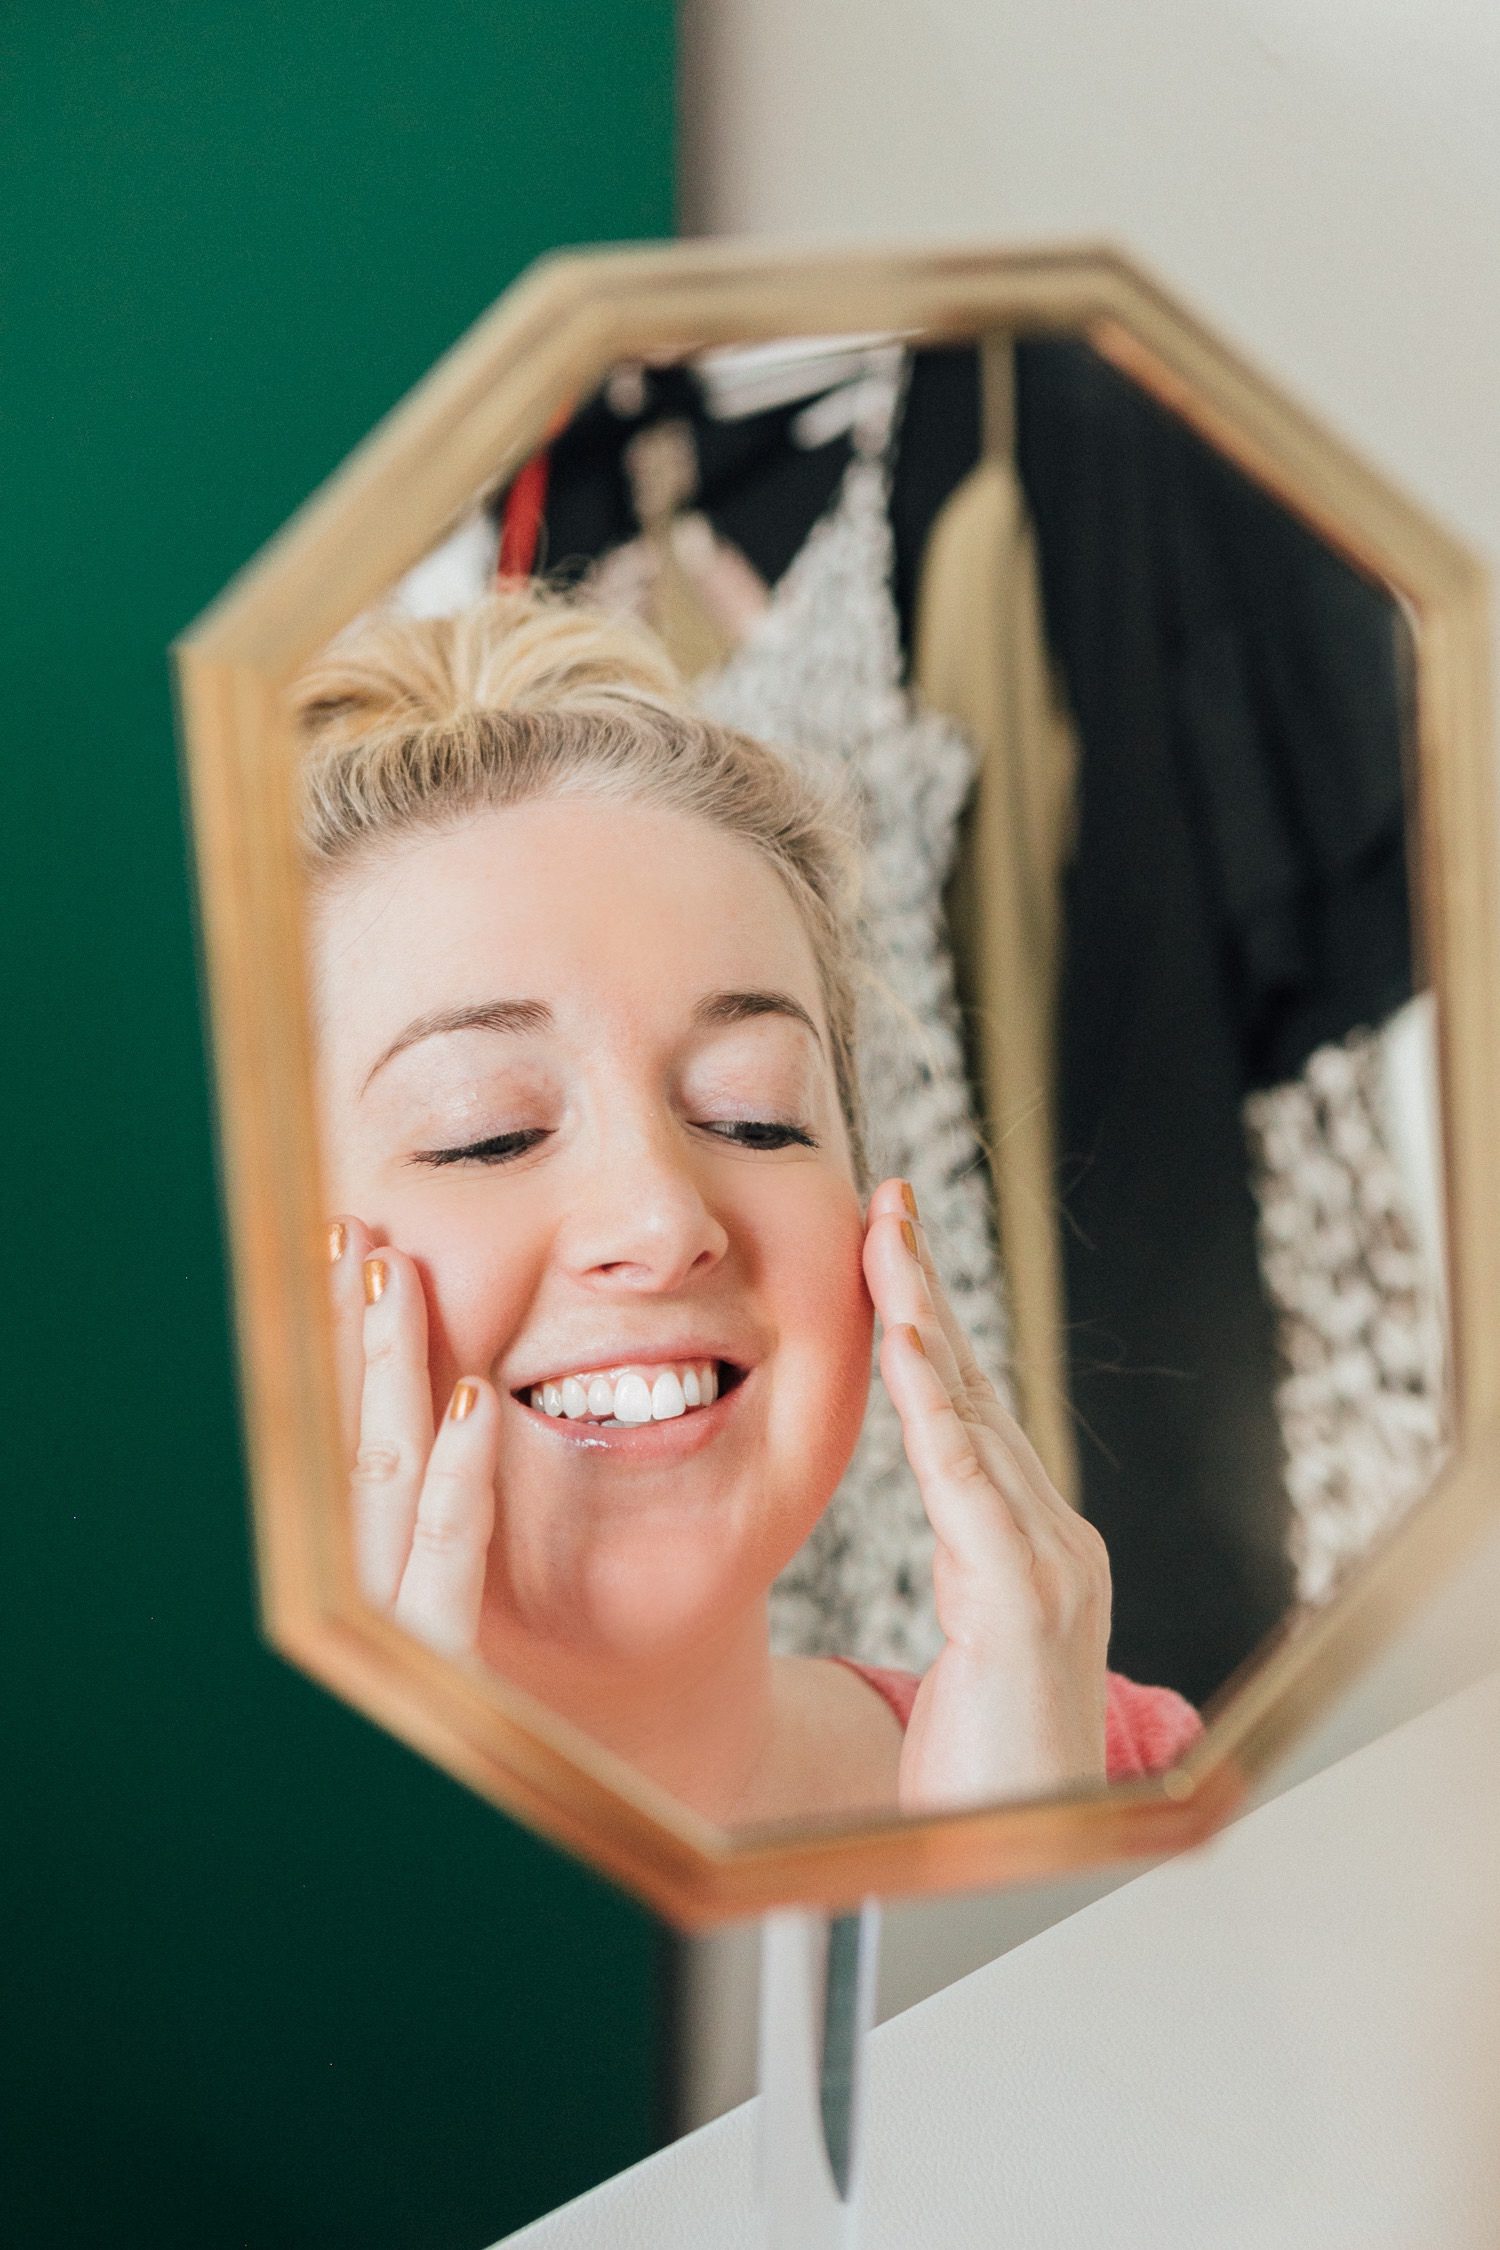
Step 5: Moisturize
After your serum(s), apply a thick and creamy moisturizer and massage it gently and slowly on to your face.
My favorite thick/creamy moisturizers:
Step 6: Top with SPF (if it’s day time)
Lastly, if it’s day time, top off your facial with some broad-spectrum SPF. I like to use a lightweight SPF in this case, since you’re already applied so much to your skin.
My favorite lightweight SPFs:
SHOP


